
Zinnias are one of the happiest flowers on earth. A judgement statement, but one I believe strongly in. The flower colors are brilliant, blooming goes on forever, plant care is minimal, seeds germinate easily, and zinnia flowers, when cut in the morning and placed in a cool room, retain their beauty for days. Lots to love about this flower.
Although grown frequently as an annual, today’s zinnias originated from native perennials found from the southern areas of the US throughout parts of the northern half of South America. Since arriving in Europe during the 18th century, zinnias have been bred for preferred bloom shape and color, various plant heights, and increased disease resistance. The results are wonderous.
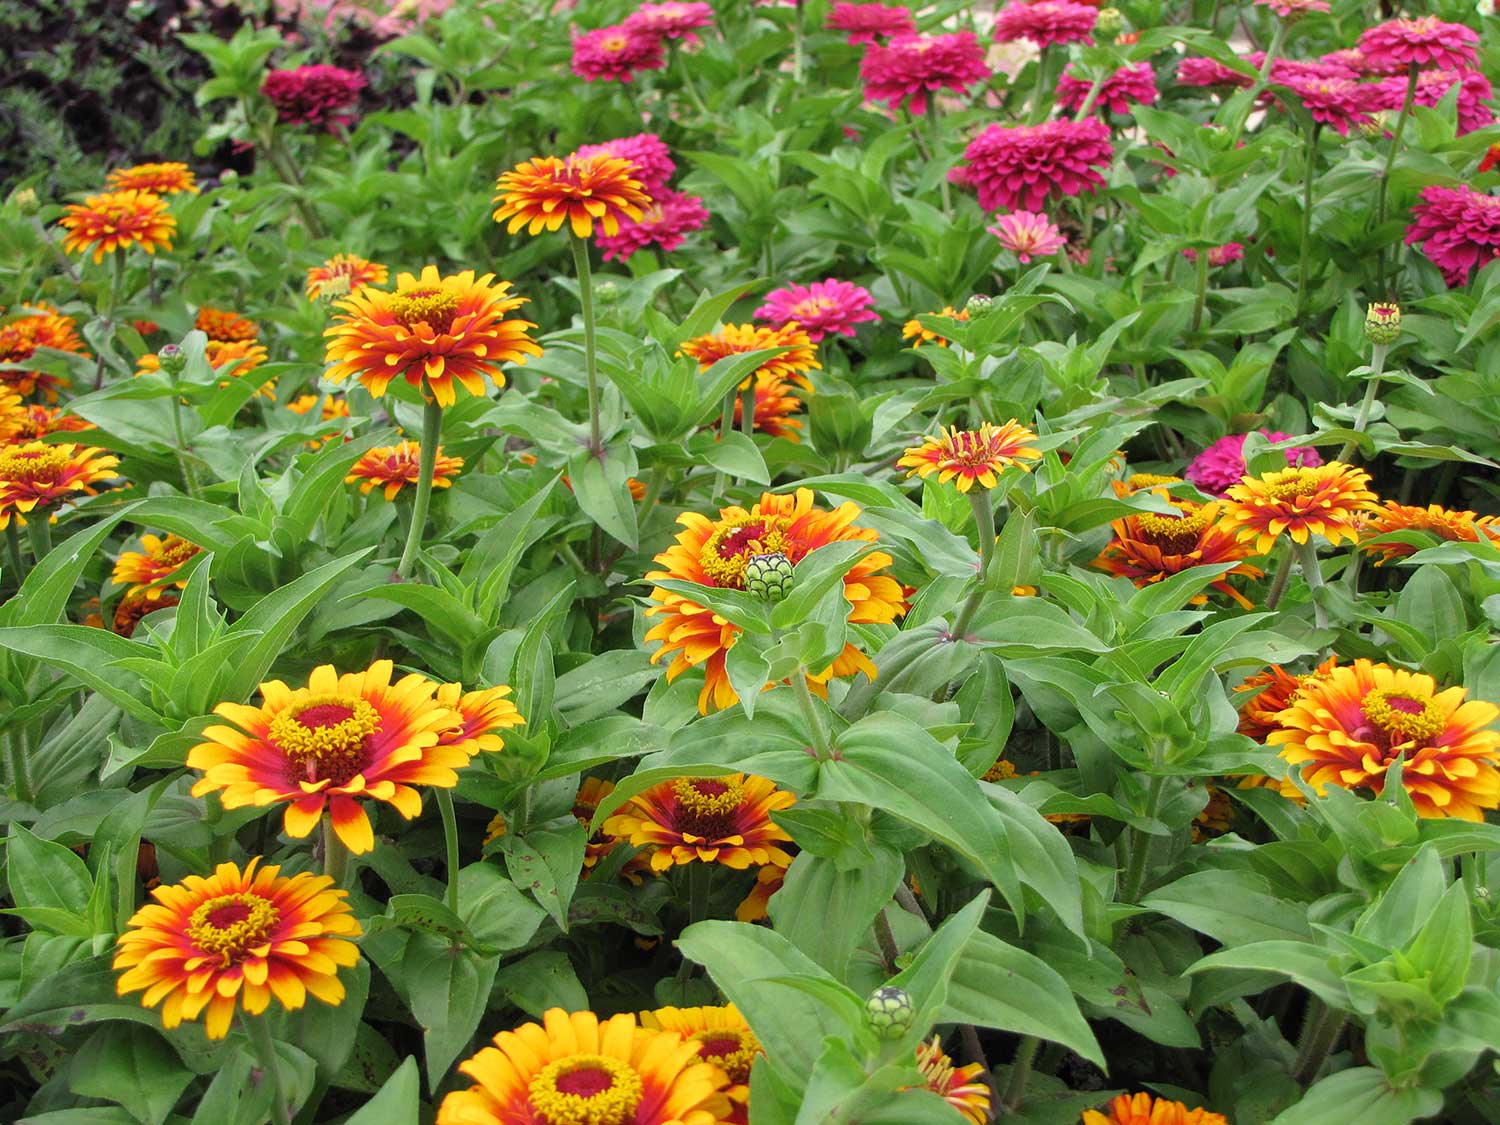
Whether the need is a four-foot tall, bright, majestic presence or a minute mass of border flowers, there is a zinnia cultivar for every full-sun site. To see some of the recent breeding efforts, visit a trial garden close to home. Observe multiple cultivars grown side-by-side to compare bloom consistency, color, shape, and plant height. Some of the most consistent series, year to year, are the Profusion, Oklahoma, and Zahara. An older cultivar called State Fair Mix reliably produces four-inch-wide, mixed color, full blooms on four-foot-tall stems. These are great for cutting. Others to try include Giant Cactus Double, Zowie Yellow Flame, Benary’s Giant, and any of the Queen zinnias.
Zinnias are quite easy to grow from seed. If started indoors, be quite careful when transplanting to an outside site. They do not like their roots disturbed and doing so may set back their growth. How much depends on their unhappiness level. The result may be very poor growth with little to nothing for flowering. Or the disturbance may just slow growth for a few days. Whether inside or outside, sow them to a depth of about ¼”. Outside planting should wait until soil temperatures have reached 70° – 80° F and all danger of frost has passed. For the best success, choose a growing site in full sun, with adequate plant spacing to encourage good airflow. Soils should be well-drained and contain a high level of organic matter with a preferred soil and water pH of between 5.5 – 7.5.
Health concerns for zinnias show up when the plants are stressed. Keeping the plantings fed, watered properly, and adequately spaced (check cultivar recommendations) will lower stress levels and help maintain good plant health. Deadheading, or the removing of spent blossoms, will not only encourage more blooms but will also remove decaying tissue, a potential pathogen source during times of high air moisture.
Start watching your plants about midway through the summer – just as the evenings become damp and cool. Check top to bottom for excessive soil moisture. Around the plant base, look for darkened or sunken areas on the stems which may indicate some stem rot. Monitor any spots developing on the leaves. Some plant health issues are treatable, some are not. If issues do develop, move to quickly identify the pathogen via lab samples and/or photo submission to a reputable lab/plant health service, or even your own eyeball diagnostics. Plan for and execute appropriate treatments in a timely manner to keep plants healthy and productive.
Zinnia seeds are easy to harvest and save. Choose from heirloom plants if you want the same characteristics from year to year. Saving seed from hybrid plants (be aware of licensing issues) will make for interesting results. One never knows what plant children will emerge. While not consistent, hybrid flower seeds do make for interesting gardens.
When saving zinnia seed, choose from the blossoms and plants that have the best bloom, form, and health characteristics. Once blooms are chosen, allow the flower head to mature on the stem. When the petals have wilted and turned brownish, cut them from the stem and allow them to dry thoroughly. When dry, gently pull the petals from the flower head, placing the harvested petals on a paper towel to continue to dry for a few days. Gently rub to remove petals from the darkish, arrow shaped seeds at the base. Place dry seeds in labeled bags or envelopes. Store in covered glass jars in the refrigerator until ready to plant the following year. Although saved seed will last more than one year in storage, expect to see lower rates of successful germination with each passing year.