
Planning a veggie garden is for many, a much-anticipated winter joy. Most gardeners have favorites that stake their space claim every year. There are always a few fun cultivars and some old family standbys to wedge into the plan. Generally, starting flower and vegetable plants from seed is a relatively easy process although there are some that may prove challenging. If you are just starting out with seeds, be prepared with quality seed, gather any needed equipment, have a light source(s), provide some airflow, do not forget to water, and make sure your growing media is sterile. With those in place, you have a good shot at success.
Start by listing the plants dancing around in your lush garden dreams. Beans? Peas? Tomatoes? Leafy greens of all kinds? Cosmos? Choose the plant varieties that push your happy button and jot them down. Do a bit homework for answers about the reliability of the company producing the seed, any specific site or planting preparation(s), germination techniques, temperatures, moisture requirements, and any post-planting spacing/transplanting needs. Give yourself plenty of time to peruse the seed offerings at your favorite gardening spot, online or safely in person. If buying in person, be sure to check the dates on each seed packet – it will be stamped with a “packaged for” date. If you are using seed that you purchased in previous years, be aware that germination rates may be lower than if fresh. Older seed may still be viable enough for your needs but send them some extra loving vibes during germination – and plant them a bit denser. Do remember to check out the wonderful heirloom seed selections, especially if you are interested in seed saving at the end of the season. Heirlooms are the only reliable seeds for consistent reproduction of plant features.
Equipment for growing can be very complex or relatively simple. The no-holds-barred list would include a greenhouse, a handheld seed sower with different settings for various sized seeds, potting shed, box for mixing soil media, area for filling containers, watering cans, sprayers, manual or timed misters, a tamping tray to gently firm the soil filled pots, cell trays, biodegradable pots for planting directly outside, plastic pots for transplanting, labels, grow lights, fertilizer, and marking pens. Maybe your own personal gardener. Or you may just cut right to the necessities – appropriate sterile growing media, sterile containers with some sort of cover for planted seeds, the seeds, water, fertilizer, a light source (natural or artificial), airflow, and a place to put the trays. Planning and preparation are key.
Many seeds do not require light for germination, but most will need good seed to media contact. Pay attention to the depth requirement for planting, moisture needs, and humidity levels for each individual seed type. Each species, and sometimes the individual varieties within species, will have differing requirements for optimal seed germination.
General guidelines follow, but do your research for the specifics needed to maximize success for each seed type. Plants that would normally sprout during cooler periods, either very early in spring or later in fall, will germinate well at soil temperatures in the 45 to 65-degrees Fahrenheit range. Later spring plants germinate well between 65 and 75-degrees Fahrenheit. Plants that sprout and thrive in warm temperatures will do best when germinated after the soil has become quite warm, between 75 and 85-degrees Fahrenheit. The best method of setting very accurate germination temperatures is with a propagation mat or blanket, which can be costly. Finding warm surfaces in the home (e.g., top of a refrigerator) can replicate the warmth needed. Do not worry about the ambient room temperature if it is above 55 – just find consistent heat to warm the bottom of the planting tray.
Once seeds are sown, water the planting tray from the bottom by placing it in a larger tray filled part way with room temperature water. Allow the media to moisten thoroughly. (This provides the moisture necessary without displacing the air in the media or disrupting/exposing the planted seeds.) After the water is soaked into the planting media – the top will look moist – remove the planting tray from the larger water tray. Cover the seeded tray lightly to retain moisture and maintain humidity during the germination process. Place the covered tray(s) on the warming surface. Be sure to check the growing media periodically during this process to make sure the moisture and humidity levels are adequate. If more moisture is needed, repeat the tray-in-tray moistening process.
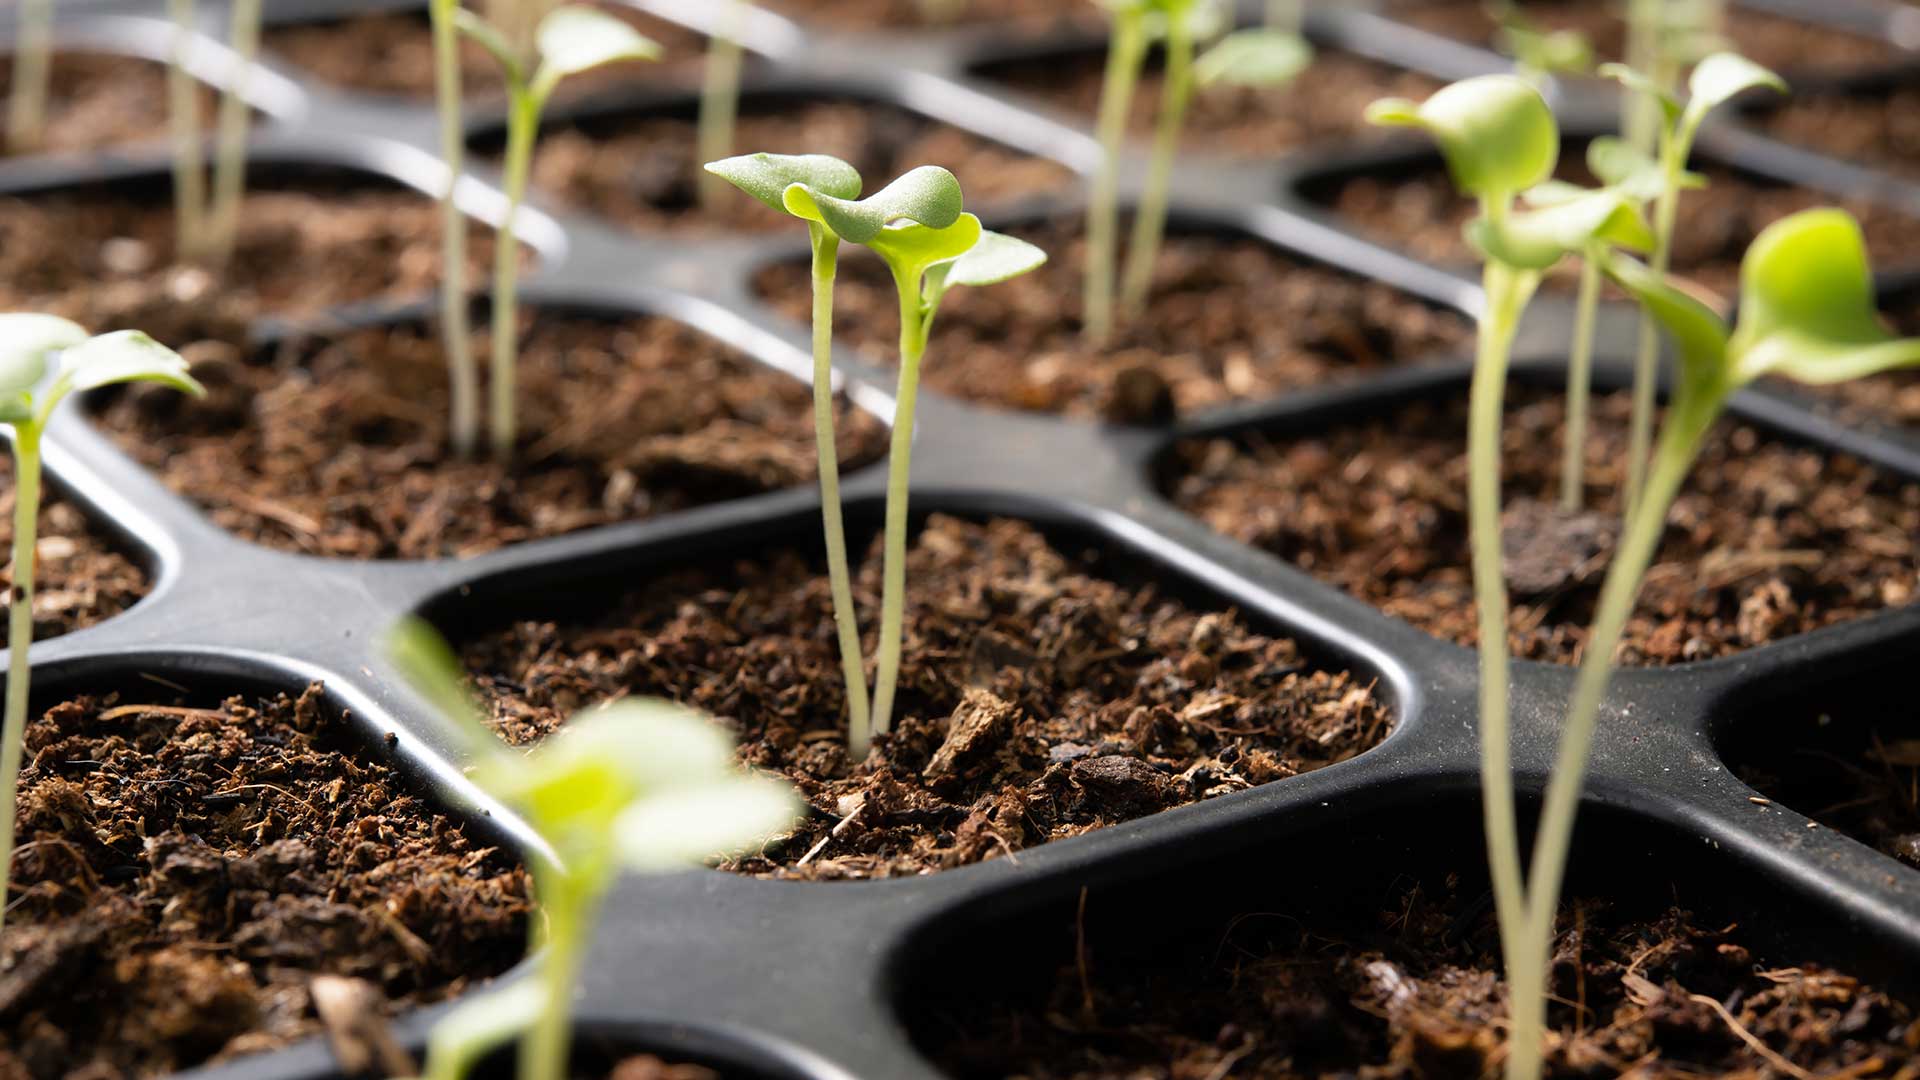
As soon as the seeds have sprouted and the second set of leaves (true leaves) has emerged, remove the trays from the heat source; remove the cover, and increase light, moisture, and airflow. Use either natural light (watch for sun scorch on the leaves) or provide plant growth spectrum lights. Adequate airflow is necessary, either through natural means – open a window if it is warm and breezy enough or use an oscillating fan to simulate nature. Airflow serves a couple of purposes. The first is to help keep pathogens moving, not allowing them to rest and grow on the tender and susceptible leaves and stems. Second, it strengthens the stems, encouraging stronger plants. Monitor the moisture levels in the trays, watering as necessary. Depending on the type of soil media used, you may need to begin a fertilization program immediately. If you have a mix that contains nutrients, check the media label for fertility timing recommendations.
Seeds offer a wider and more unusual selection of plant material than grown-for-you seedlings. Plus sowing your own seeds is a great way to get the fingers dirty, add a little diversity to your landscape, and give an early welcome to some old and new plant friends.